
Protecting your home is easier than ever with security cameras. Whether you're monitoring the front door, garden, or indoor spaces, a camera offers you peace of mind. While fitting security cameras by yourself can feel like a daunting task, most models are built for easy DIY setup. In this guide, we’ll show you how to install different types of cameras, including battery, solar, wireless, and wired options.
Choosing the Right Security Camera
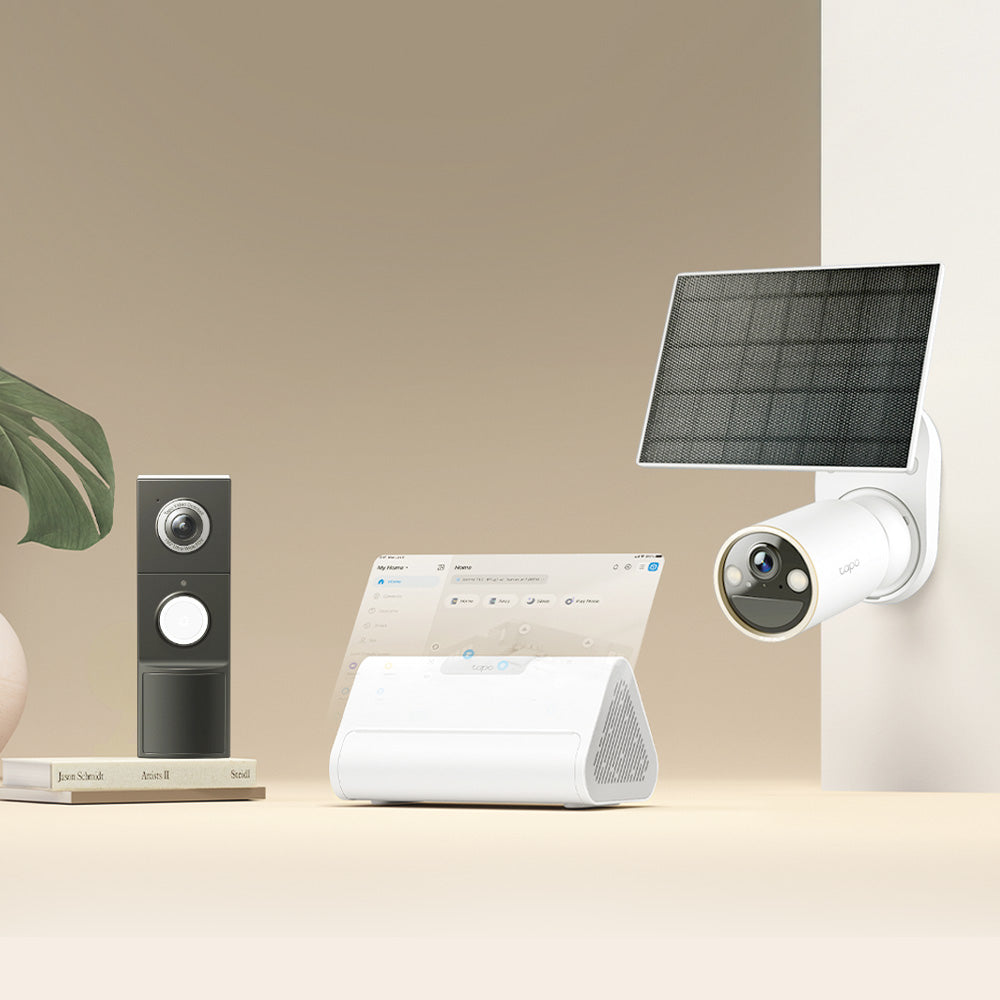
Choosing the right security camera depends on several factors. Think about the type of property you live in, whether you're monitoring indoor or outdoor areas, and how you want to power the device, such as with a battery, solar panel, or mains connection. It’s also important to consider your network setup, whether that’s Wi-Fi, 4G, or PoE (Power over Ethernet). Taking time to understand your needs will help you select the best option for your home.
Location Options
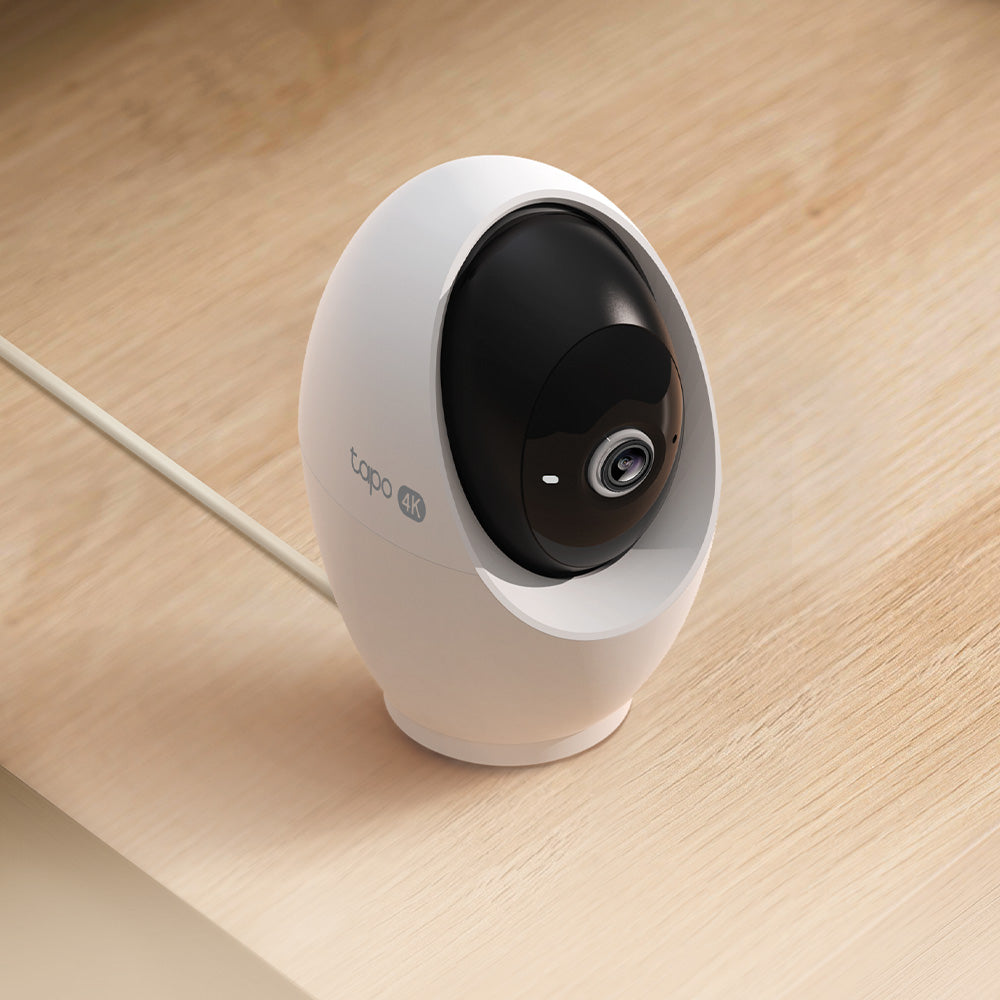
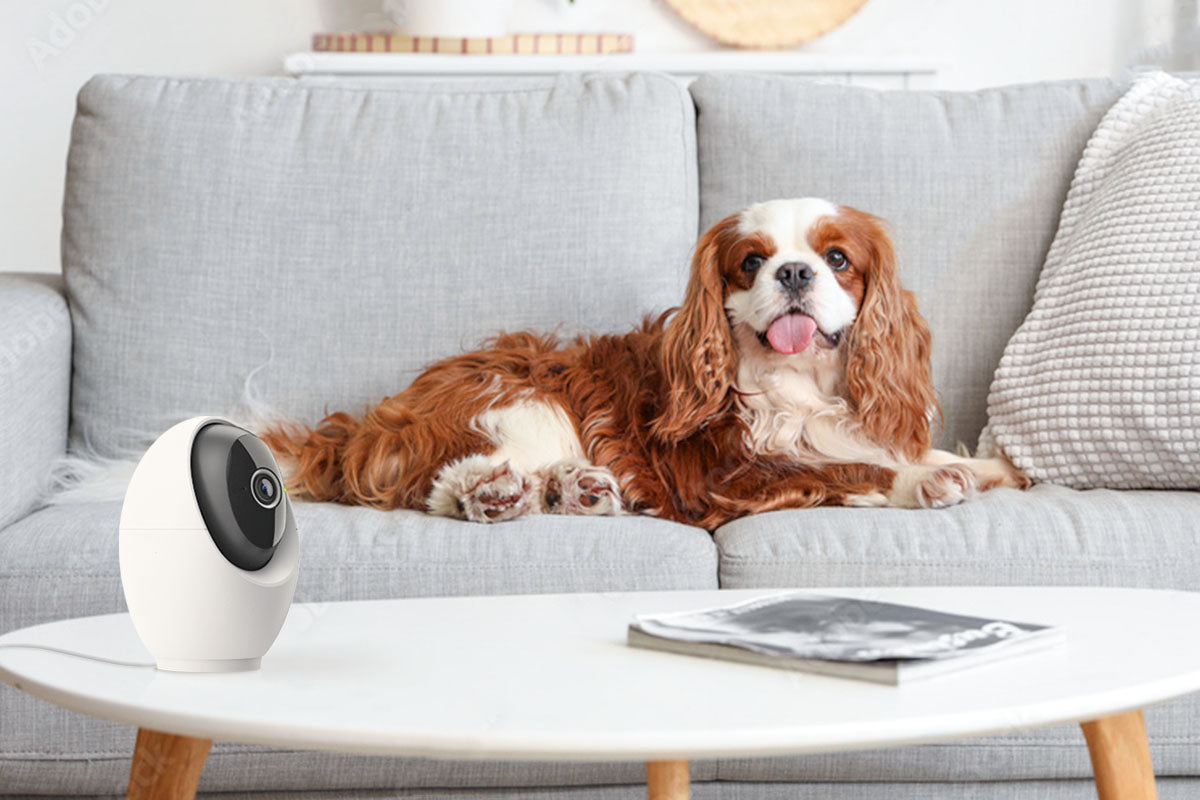
Indoor security cameras are designed to keep an eye on family, pets or valuables inside your home. Tapo indoor cameras are compact, easy to install, and connect seamlessly to your Wi-Fi. They work well placed on a shelf, a counter, or mounted on a wall to give you a clear and wide view of the room.
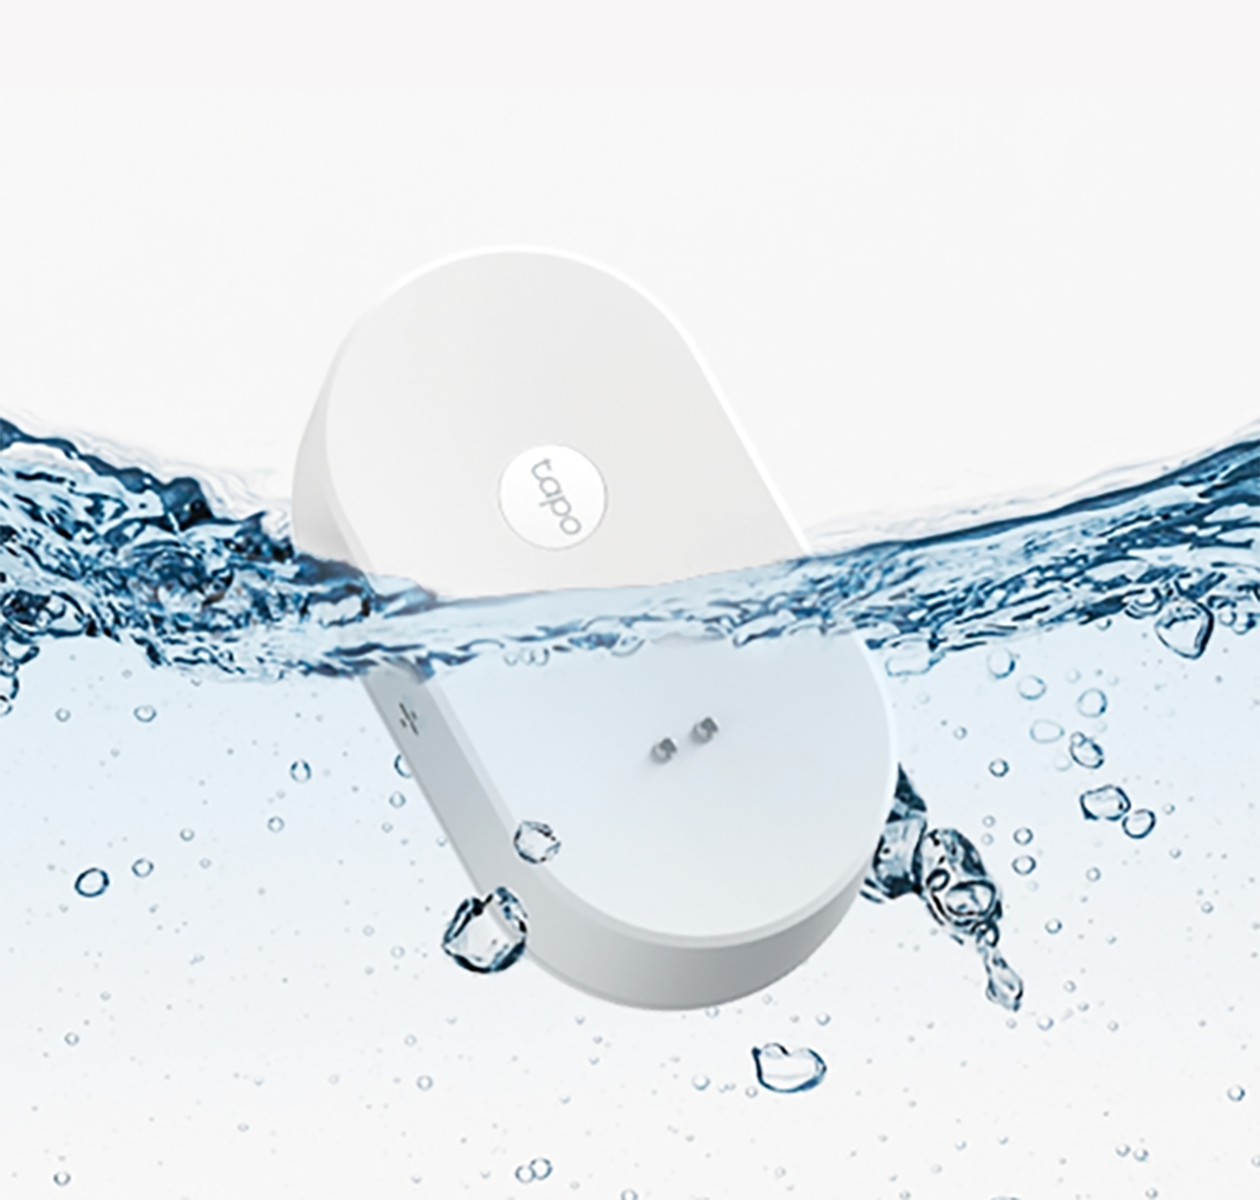
Outdoor security cameras are built to withstand rain, wind and changing temperatures while securing areas like your driveway, garden, or garage. All Tapo outdoor models are weatherproof and equipped with advanced night vision to deliver clear footage at any hour. Each camera is carefully tested to perform reliably throughout the seasons in typical UK weather.
Video doorbells provide real-time visibility at your front door and let you speak to visitors directly from your phone. With a Tapo video doorbell, you can manage deliveries, spot suspicious activity, and communicate with guests even when you’re away from home.
Power Source Options
Battery-powered security cameras are easy to install with no wiring needed. Tapo battery cameras are built for quick DIY installation and can be placed in areas that are harder to reach with cables. The Tapo app helps you monitor battery life so you can recharge when needed, keeping your system running smoothly.
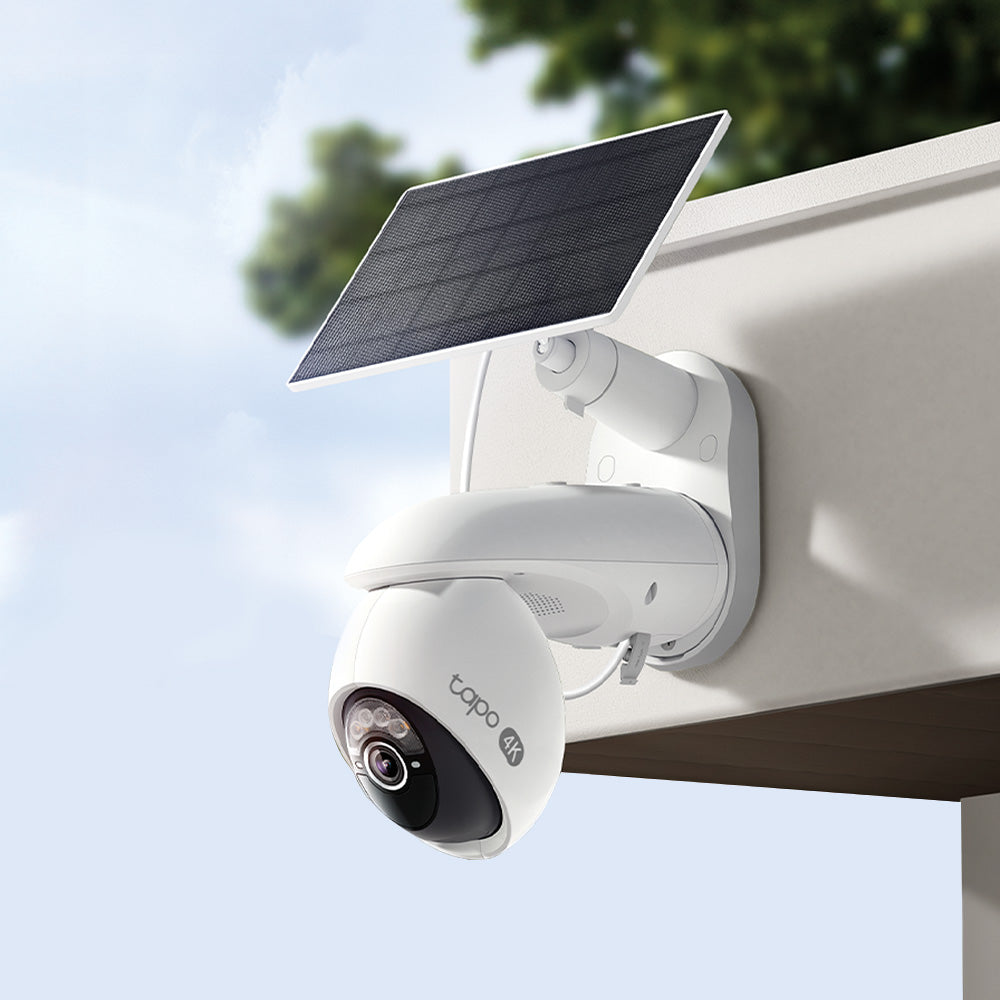
Solar-powered security cameras include a small solar panel to keep the battery topped up, ideal for outdoor use where sunlight is available. Tapo solar kits are carefully designed for use in the UK climate and are an ideal low-maintenance option for outdoor coverage.
Wired security cameras are cameras that need a power cable for continuous operation. This could be an adapter, PoE or direct wiring. This ensures a stable power supply and continuous operation without interruptions. At Tapo, when we refer to a camera as wired, we mean one that delivers consistent, long-term performance with minimal upkeep.
Network Connectivity
Wireless security cameras transmit data using wireless technology such as Wi-Fi cameras (the most common at Tapo) or 4G models, instead of network cables. It’s worth noting that these cameras might not be completely wire-free as they may still require physical cables to connect to a power source.
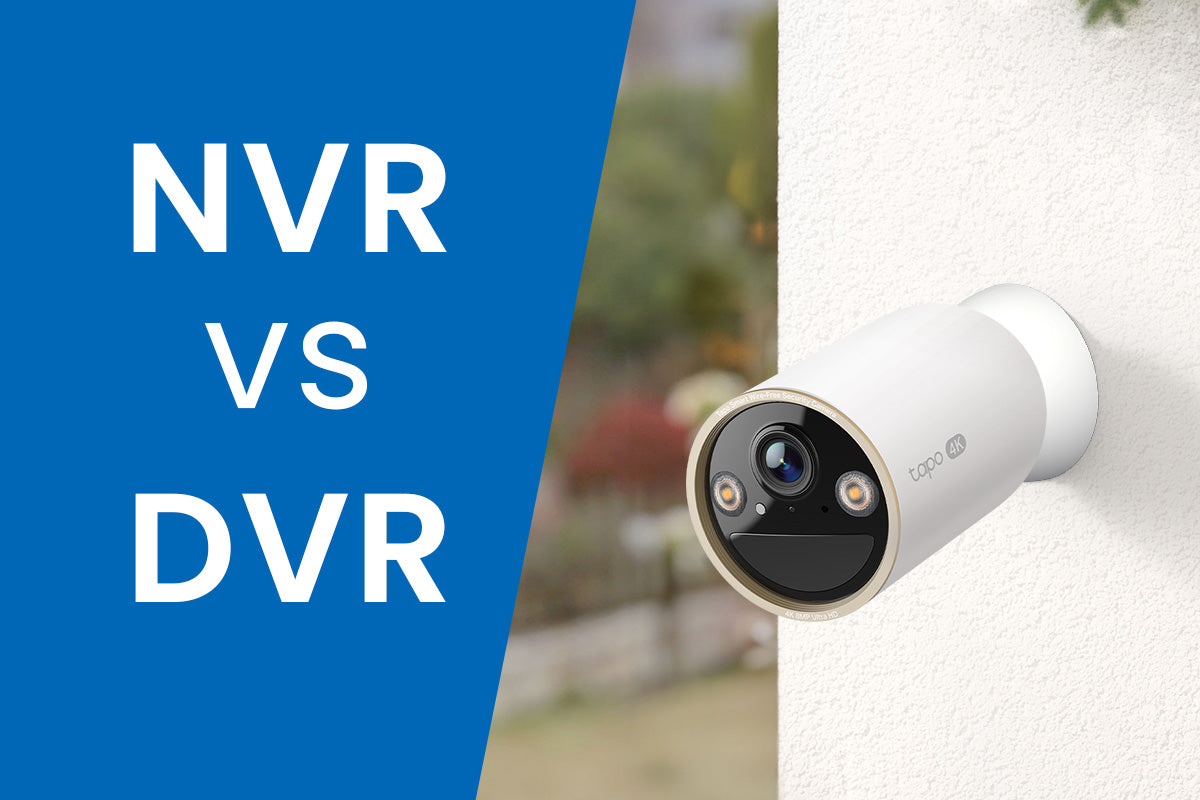
PoE (Power over Ethernet) Security cameras use a single Ethernet cable for both power and data. They’re popular for wired setups and offer a reliable connection.
Each type serves a different purpose, so think about what you want to monitor and choose the one that best suits your needs. If you need more help deciding, take a look at our security camera buying guide for a full breakdown.
Are Security Cameras Easy to Install?
The short answer is yes. Most modern security cameras are designed with user-friendly installation in mind. Battery-powered wireless cameras are especially beginner-friendly since they don’t require any wiring.
At Tapo, all our security cameras come with simple step-by-step guides and customer support if you need extra help. Even hardwired cameras, which may need a bit more setup, can still be installed DIY with some basic planning.
Where to Install a Security Camera

Choosing the right spot is just as important as choosing the right camera. Here are some key things to consider when positioning your security cameras:
- Examine your home’s layout: Identify the most vulnerable areas, such as entrances, blind spots, and hidden walkways where intruders could try to enter unnoticed. Think about camera angles that cover wide areas without gaps, and position cameras at heights that capture clear details, around 8 to 10 feet (2.5 to 3 meters) is ideal for outdoor placement.
- Ensure the camera has a clear line of sight: Avoid placing cameras where trees, fences, or gutters block the view to ensure your camera captures everything clearly.
- Consider the weather: Outdoor cameras are weatherproof, but placing them in sheltered spots can protect them from direct rain and strong sunlight, helping them last longer.
- Cover ground floor doors and windows: These are common entry points for home intruders, so placing indoor cameras here helps catch any suspicious activity early.
- Monitor main stairs and hallways indoors: Placing cameras here can help you track movement inside your home, whether it’s family, pets, or visitors.
- Keep an eye on driveways and garages: These areas let you monitor vehicles and spot visitors before they reach your front door.
How to Install a Wireless Security Camera
Wireless security cameras connect to your network without using data cables, making setup easier. But “wireless” only refers to the data connection, these cameras still need a power source. Depending on the model, they may run on battery, solar, or a wired power supply via a plug-in or direct wiring.
Since the installation process varies by power source, we’ve broken it down into sections below.
How to Install a Battery Security Camera

Battery-powered security cameras often connect to the network via Wi-Fi, making them some of the easiest to install. Since they don’t require any cables, you can place them almost anywhere with a strong Wi-Fi signal.
1. Charge the Battery
Before installation, fully charge the battery. This ensures your camera is ready to go once mounted.
2. Choose the Right Spot
Pick a location that gives you a clear view of the area you want to monitor. Make sure it's within range of your Wi-Fi and mounted high enough for a good angle, again about 8 to 10 feet for outdoors is ideal.
3. Mount the Camera
Most battery cameras come with a mounting bracket. Use the included screws and wall plugs to fix the bracket in place, then snap the camera onto the mount. Some models may even offer magnetic or adhesive options for easier placement.
4. Connect and Set Up
Download the app recommended by the manufacturer (like the Tapo app), power on the camera, and follow the in-app setup steps to connect it to your Wi-Fi. You’ll usually scan a QR code or enter a pairing mode to get started.
5. Test the View
Once it’s connected, check the live view to make sure the angle and coverage are correct. Adjust if needed, then secure everything in place.
6. Keep an Eye on Battery Life
Battery life varies depending on usage and settings. Many apps will notify you when it’s time to recharge, or you can pair your camera with a solar panel to extend its uptime.
How to Install a Solar-powered Security Camera

Solar-powered cameras work just like battery cameras but stay charged using an attached solar panel. They’re often sold as a kit and follow the same setup steps.
Mount the camera as you would a regular battery-powered model, then install the solar panel in a spot that gets consistent sunlight, usually just above or beside the camera. Secure the panel using the included bracket, and connect the cable to the camera. Once set up, the solar panel will help keep your battery topped up with minimal maintenance.
If your wireless camera needs a power cable, refer to the next section on installing wired security cameras.
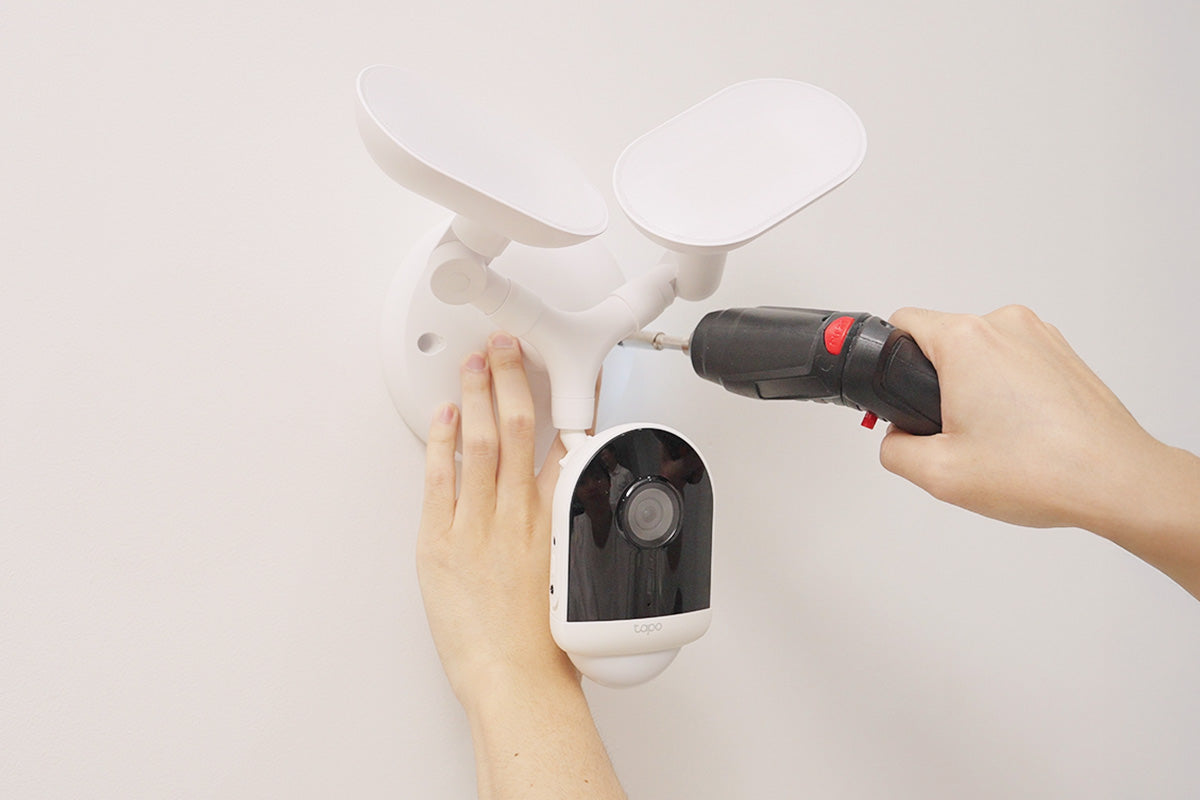
How to Install a Wired Security Camera

Wired security cameras offer reliable, constant power through physical cables. Here’s how to fit a wired security camera:
1. Plan Your Wiring Route
First of all, decide where you want to place the camera for optimal coverage. It’s very useful to sketch a basic wiring path from the power source to the camera. If the cable needs to go through walls, ceilings, or conduits, plan accordingly to keep things tidy and protected.
2. Mark and Drill Mounting Holes
Use a mounting template (often included) to mark where you’ll drill. Drill pilot holes at the marked points for screws and for cable entry if needed.
3. Run and Protect the Cables
Feed cables through walls, ceilings, attics, or conduits as planned. Use fish tape to pull cables through difficult areas and secure them with cable clips or inside conduit for protection, especially outdoors.
4. Mount the Camera&
Fix the mounting bracket to the wall or ceiling using screws and anchors as needed. Attach the camera to the bracket and adjust it to the desired angle.
5. Connect and the Camera
Plug in the power and, if needed, the network cable (e.g. for PoE models). Make sure connections are secure and weather-protected outdoors.
6. Power On and Configure
Download the app recommended by the manufacturer (like the Tapo app), switch on the camera, and follow the in-app setup instructions to connect the camera to your network and configure your preferences.
7. Test the Camera
Check the camera’s video feed and coverage area. Adjust camera angles and settings as needed for optimal performance.
Final Thoughts
At Tapo, we believe home security should be simple, smart, and accessible to everyone. That’s why all our security cameras are designed with DIY installation in mind, and no complex setup is required.
Whether you're choosing a flexible battery-powered camera or a wired solution for continuous protection, setting up your Tapo camera is quick and hassle-free. And once you're up and running, you'll enjoy 24/7 peace of mind backed by advanced features and reliable performance.
Ready to get started? Browse our full range of Tapo security cameras, all backed by:
- Free UK delivery
- Easy DIY installation
- 2-year warranty
- UK-based customer support
Secure your home the smart way with Tapo.
Leave a comment
All comments are moderated before being published.
This site is protected by hCaptcha and the hCaptcha Privacy Policy and Terms of Service apply.